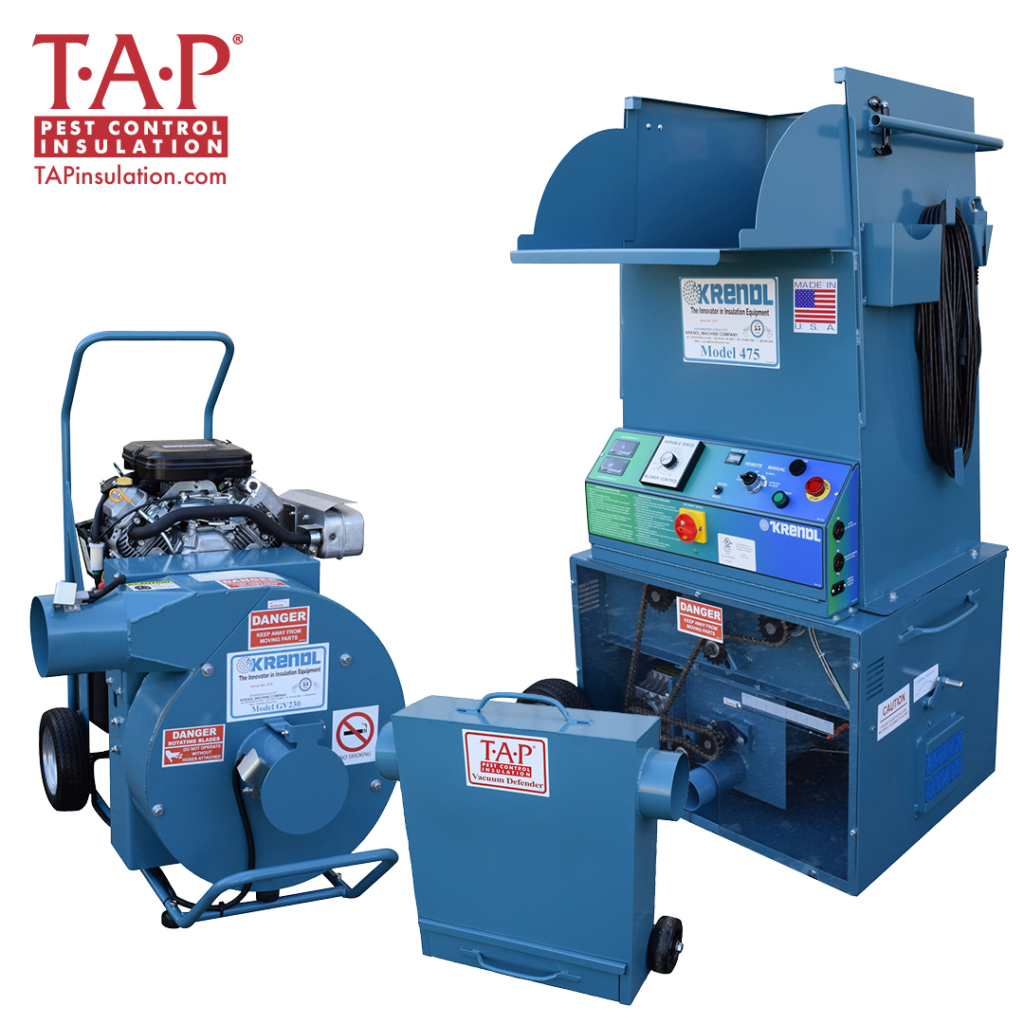
In order to build a successful TAP attic restoration business, it is critical that your insulation machines are primed and ready for the job. Here are some tips on maintaining your machines:
INSULATION BLOWERS
When something goes wrong with your insulation blower, and it could, you want to be prepared and knowledgeable on how to correct the situation so you can complete the insulation job. Here are a few tips:
1. Plugged Hose
If the machine is running like normal but there is no insulation coming out of the end of the hose, turn off the blower’s auger so that the only thing being sent through the hose is air. Place your hand over the end of the hose allowing pressure to build within the hose. Most times, the jammed plug will correct itself when you release your hand.
2. The Machine Shut Itself Off
When the motor begins to over heat, the blower’s reset button will pop out indicating that something is jammed or caught in the machine’s augers. Simply shut down the machine and investigate what is trapped in your auger below the hopper and remove it.
3. Change Seals and Filters Annually
The insulation blower will loose production quality when the machine’s seals become worn or damaged and should be changed each year. Also, changing the filter annually helps maintain the machine’s productivity and performance to handle any TAP® job.
4. Check the Chain and Cogs of the Blower
Remove the machine’s front panel to inspect the cogs and chains as well as re-grease the chains for longevity.
NOTE: Before you begin any maintenance or repairs on your insulation blower, make sure the emergency stop button is engaged and all plugs are unplugged.
INSULATION VACUUMS
Use the following tips as a guide for keeping your insulation vacuum in optimal condition:
1. Perform a routine maintenance check prior to each job.
- Check the engine’s oil level prior to each use of the vacuum
- Clear the muffler and air intake controls of any accumulated debris (preferably with a high-pressure air hose)
- Check the air filter weekly and replace monthly or quarterly depending on the frequency of use.
- Change the spark plug annually.
- Change the oil filter every 100 hours of use or annually whichever comes first.
2. Conduct an inspection of your Vacuum’s impeller (fan blades) each month.
The insulation vacuum’s impeller can get worn down or experience damage from continual use of the insulation vacuum. It is wise to conduct a monthly inspection of the impeller. This will help keep your insulation vacuum in working condition and prevent injury should a piece of the impeller break loose while on the job site.
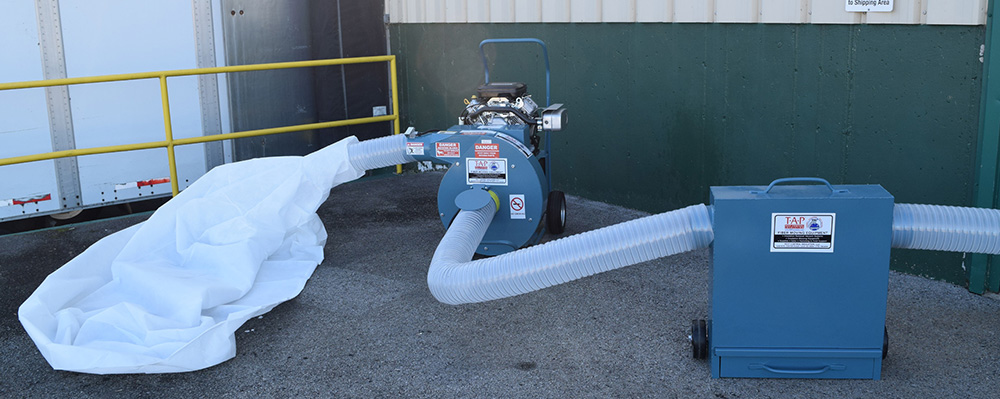
3. Use an insulation vacuum defender.
Attics often house items such as loose nails, washers, or other construction or installation supplies and tools. These can jam up your vacuum and create damage. Avoid delays or costly repairs by incorporating a vacuum defender to your set-up.

Attach the hose from the attic to the defender. Attach a second hose from the defender to the insulation vacuum. The defender will remove potentially damaging debris from the insulation before it comes in contact with the vacuum fan blades. The defender’s innovative design reduces the wear and tear on the vacuum’s fan blades, engine, and vacuum housing.
Remember, it is best follow the manufacturer’s machine manual for routine maintenance, wear the appropriate personal protection equipment including safety goggles, and always, when working on your insulation vacuum, remove the vacuum’s key before getting started to insure the vacuum has no power source.
Using your insulation blowers and vacuums with a regular attic capping or attic restoration program featuring EPA-registered TAP® Pest Control Insulation is a step towards success.
Contact us for additional maintenance tips and troubleshooting help.

