
Ensuring there is proper attic ventilation after a TAP® Pest Control Insulation install is very important. It can seem counter-intuitive; insulate to reduce utility bills, but allow air to flow through the attic. The science behind it, though, is very solid. If the air cannot move through the attic, heat will get trapped. This can lead to reduced shingle life. In addition, temperature fluctuations from day to night may foster liquid moisture build-up along the roofline and lead to mold issues.
Excess summer heat is not the only issue. In northern climates, warm air from the house can gather in the attic and melt the snow on the roof and refreeze as the melted snow reaches the cold overhangs causing ice dams that lead to interior leaking and roof damage. Prior to insulating with TAP® Pest Control Insulation, make sure to follow these guidelines to avoid the stress and hassle of an emergency roof repair.
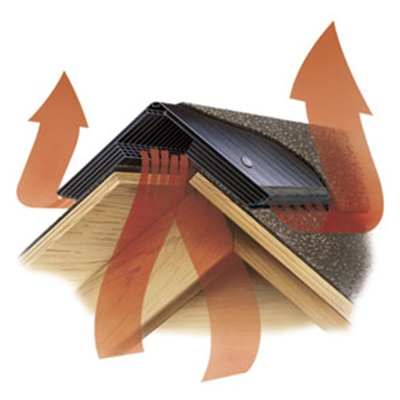
Cool Air In, Hot Air Out
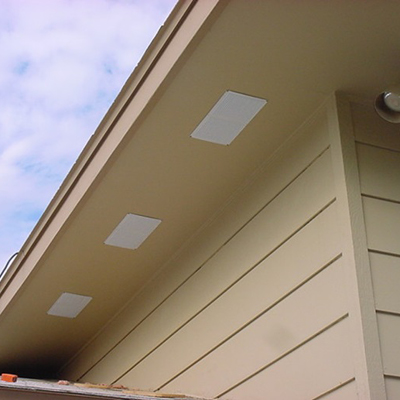
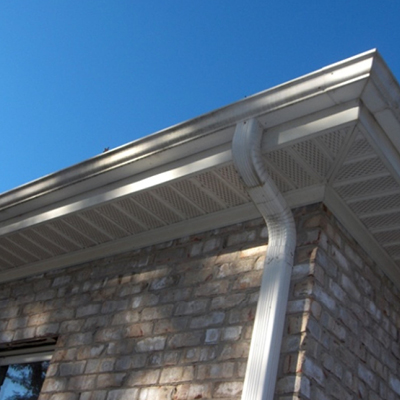
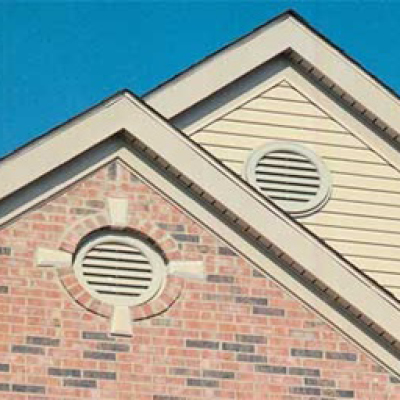
The first rule of thumb on attic ventilation is to have upper and lower vents. It is a rule of science that hot air rises. Passive ventilation, which takes advantage of this science, is the most common way to ventilate an attic. Soffit vents or continuous soffit vents, located under the eaves of the roof, act as intake vents to bring in the cool air. Exhaust vents, such as a ridge or off-ridge vents, are located along the peak of the roof, allow the hot air to escape.
In order to facilitate this exchange of warm and cool air, a general rule of thumb recommends installing at least 1 sq. ft. of ventilation for every 300 sq. ft. of attic floor. Building codes vary, however, so check with the local building authority for the specifics that pertain to the community in which the home resides. If upper and lower ventilation is not present, adding them is required to allow heat and moisture to escape.
Soffit Vents
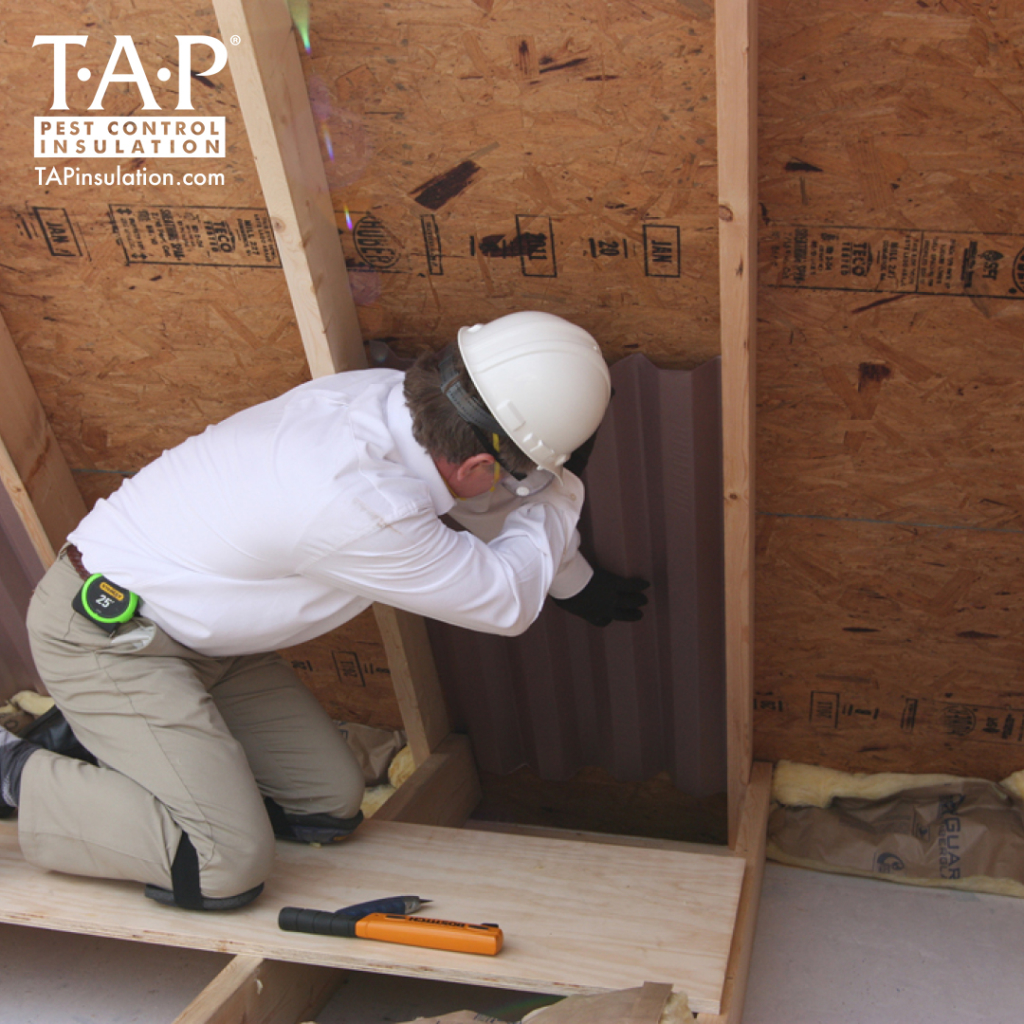
If soffit vents are present, avoid covering them up when installing TAP® Pest Control Insulation. This maintains the attic’s existing ventilation structure. The most efficient way to do this is by installing baffles or air/ventilation chutes. Whether cardboard or styrofoam, baffles fit between roof joists that are 16” or 24” apart. Baffles are designed to extend the ventilation from the soffit vent to the attic space above the insulation. Many attics with soffit vents and existing insulation may not have baffles if the insulation is not thick enough to reach the soffit. However, this is typically found in an under-insulated attic.
Adding baffles is a simple process. Simply place the baffle between the roof joists so that the end of the baffle extends into the soffit area. Push a blocking material (typically a scrap piece of batted fiberglass) between the baffle and the attic floor. This prevents the new insulation from blocking the soffit when installed. Placing a baffle or air chute between every joist provides optimal ventilation.
Shop all our baffles on our website. Contact us should you have additional questions or need additional insight on protecting the attic’s ventilation system.